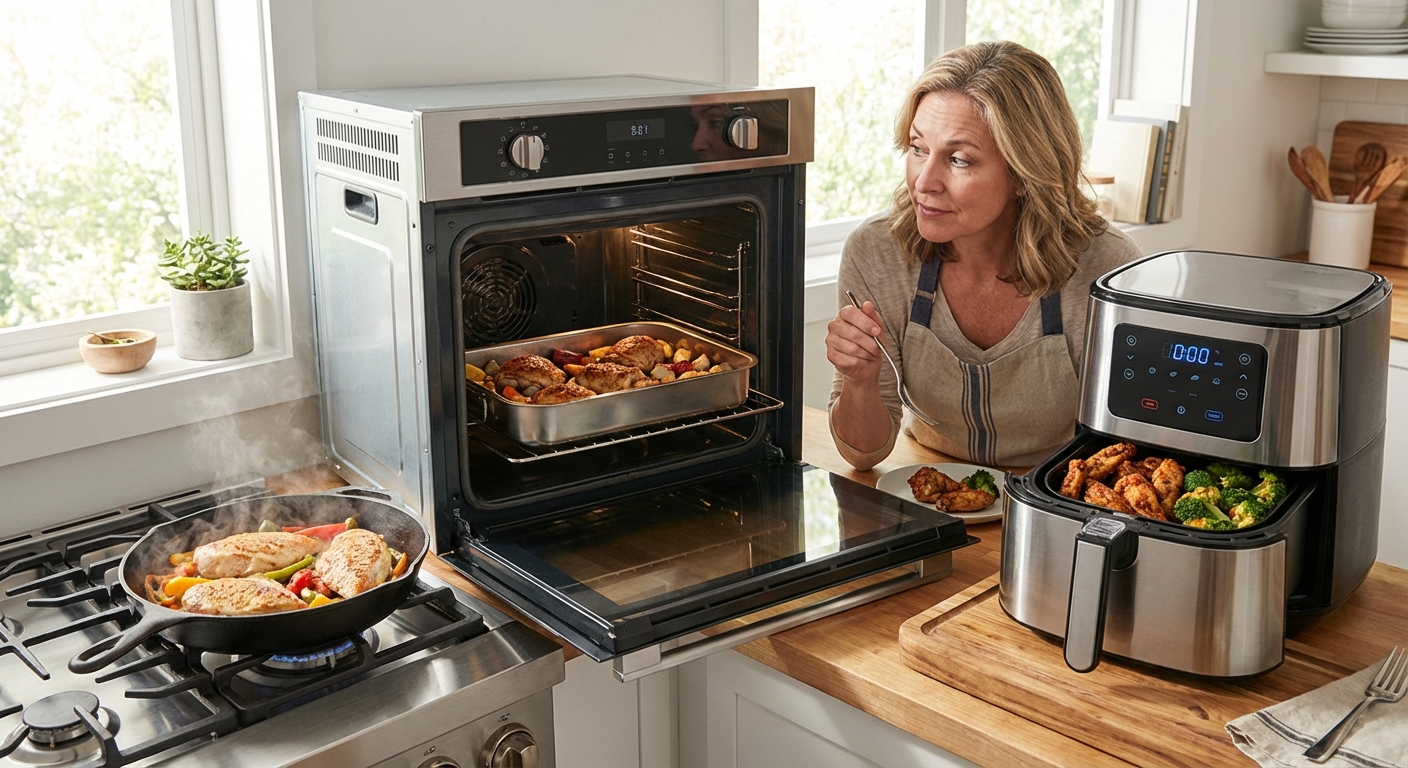
The way you apply heat—skillet, oven, or air fryer—can transform the exact same ingredients into wildly different meals. Crispy, juicy chicken; tender, caramelized vegetables; perfectly seared salmon… it’s not just what you cook, it’s how you cook it.
Same Ingredients, Different Heat, Totally Different Results
Understanding when to grab a pan, preheat the oven, or fire up the air fryer is one of the most powerful kitchen skills you can develop.
This guide compares three core methods:
- Stovetop pan cooking (sautéing and pan-searing)
- Oven roasting
- Air frying
- Pros and cons of each method
- Best uses and flavor advantages
- A side-by-side chicken and veggie recipe, adapted three ways
- Flavor pairing and timing tips
You’ll get:
Method 1: Stovetop Pan Cooking
Best For
- Quick meals
- Developing deep browning and fond (the golden bits on the pan)
- Sauces built directly in the pan drippings
- Fast, high control over heat
- Great browning and searing
- Perfect for smaller portions
- Requires more active attention
- Can smoke or splatter
- Less ideal for very large batches
- Thin cuts of meat (chicken cutlets, pork chops, steaks)
- Shrimp and fish fillets
- Quick-cooking veg (spinach, mushrooms, peppers, zucchini)
Pros
Cons
Ideal Ingredients
Chef Tip: Preheat the pan and add oil right before the food. Food should sizzle as it hits the pan.
Method 2: Oven Roasting
Best For
- Hands-off cooking
- Large batches
- Deep, sweet caramelization of vegetables
- Low maintenance: toss, spread on a pan, forget for 20–40 minutes
- Even cooking with minimal stirring
- Easy to cook protein and veg together
- Takes time to preheat and cook
- Kitchen heats up in warm weather
- Root vegetables, broccoli, cauliflower, Brussels sprouts
- Chicken thighs, whole chickens, pork tenderloin
- One-pan meals and casseroles
Pros
Cons
Ideal Ingredients
Chef Tip: High heat (400–450°F / 200–230°C) = better browning and flavor.
Method 3: Air Fryer Cooking
Best For
- Crisp texture with less oil
- Small-batch snacks and quick dinners
- Very fast preheat
- Crispy exteriors, especially for small pieces
- Uses less oil than deep-frying
- Limited capacity (multiple batches for family meals)
- Can dry out delicate foods if overcooked
- Small chicken pieces, wings, nuggets
- Frozen fries, tater tots, breaded snacks
- Veg like Brussels sprouts, broccoli, zucchini, cauliflower
Pros
Cons
Ideal Ingredients
Chef Tip: Don’t overcrowd the basket, and shake halfway through for even crisping.
The Comparison Test: Same Ingredients, Three Methods
We’ll use the same basic ingredients to show how each method shines.
- Boneless, skinless chicken thighs
- Broccoli florets
- Carrot coins
- Simple garlic-herb seasoning
We’ll season everything the same way, then cook it three different ways.
Base Marinade / Seasoning
Ingredients (for 4 servings)
- 1½ lbs boneless, skinless chicken thighs, cut into bite-sized pieces
- 3 cups broccoli florets
- 2 large carrots, peeled and sliced into coins
- 3 tbsp olive oil (divided as needed)
- 3 cloves garlic, minced
- 1 tsp dried oregano
- 1 tsp dried thyme
- 1 tsp smoked paprika
- 1½ tsp kosher salt
- ½ tsp black pepper
- Juice of ½ lemon (for finishing)
Instructions (Seasoning Step)
- In a bowl, combine garlic, oregano, thyme, smoked paprika, salt, pepper, and 2 tbsp olive oil.
- Toss chicken pieces in half the mixture; toss broccoli and carrots in the remaining half. If needed, add another tbsp of oil so everything is lightly coated.
Now let’s cook this three different ways.
Version A: Pan-Sautéed Garlic Herb Chicken & Veg
What You Get
- Deep browning on chicken
- Crisp-tender veggies
- Flavorful bits on the pan you can turn into a quick sauce
Instructions
Preheat the pan
Heat a large skillet (nonstick or stainless) over medium-high heat. Add 1 tbsp olive oil.
Cook the chicken first
When oil shimmers, add chicken in a single layer. Don’t overcrowd; cook in batches if needed. - Sear 3–4 minutes without moving to develop color. - Flip and cook another 3–4 minutes until cooked through. - Transfer to a plate and tent with foil.
Sauté the veggies
In the same pan, add a drizzle of oil if it looks dry. Add carrots first. - Cook carrots 3 minutes, stirring occasionally. - Add broccoli, cook another 4–5 minutes until crisp-tender and a bit charred in spots. - Season with a pinch more salt if needed.
Deglaze & finish (optional sauce)
With veggies still in the pan, add a splash of water, broth, or white wine to scrape up browned bits. - Return chicken to the pan. - Squeeze lemon over everything and toss.
Flavor & Texture Notes:
- Most intense browning and "roasted" flavor on the chicken
- Veggies have some char and stay a bit firmer
- Serve over rice, mashed potatoes, or with crusty bread to soak up pan juices.
Best Pairings:
Version B: Oven-Roasted Sheet Pan Chicken & Veg
What You Get
- Deeply browned, caramelized vegetables
- Juicy chicken, less active work
Instructions
- Preheat oven to 425°F (220°C). Line a sheet pan with parchment.
Arrange on pan
Spread carrots and broccoli on the pan. Add chicken pieces among the vegetables, leaving some space between pieces.
Roast
Bake for 20–25 minutes, tossing once halfway, until chicken is cooked through and veggies are tender with browned edges.
Finish
Right out of the oven, squeeze lemon over everything. Toss gently.
Flavor & Texture Notes:
- Veggies get sweeter and more caramelized than in the pan version
- Chicken is juicy with less active management
- Serve with couscous, quinoa, or a simple green salad
Best Pairings:
Chef Tip: For extra browning, broil for 1–3 minutes at the end—but watch closely.
Version C: Air Fryer Garlic Herb Chicken Bites & Veg
What You Get
- Crisp, slightly chewy chicken bites
- Charred, caramelized veg
- Fast cook time
Instructions
- Preheat air fryer to 400°F (200°C), if your model requires preheating.
Cook the veggies
Add carrots and broccoli to the basket in a single layer (work in batches if needed). - Air fry 8–10 minutes, shaking halfway through.
Cook the chicken
Remove veggies and keep warm. Add chicken pieces in a single layer. - Air fry 8–10 minutes, shaking halfway, until browned and cooked through.
Finish
Toss cooked chicken and veggies together in a bowl, squeeze lemon, toss again.
Flavor & Texture Notes:
- Chicken gets a snappy, slightly crisp exterior
- Veggies cook quickly with nice charred spots
- Serve with a dipping sauce: garlic yogurt, ranch, or a lemony tahini sauce
Best Pairings:
So…Which Method Should You Use?
If You Want Maximum Browning on Meat
- Choose: Pan-searing or sautéing
- Why: Direct contact with hot metal = serious Maillard reaction (browning)
- Choose: Oven roasting
- Why: Dry, even heat lets veggies slowly sweeten and brown while you walk away
- Choose: Air fryer
- Why: Hot, circulating air browns the surface quickly with minimal oil
If You Want Caramelized Vegetables and Hands-Off Time
If You Want Crispy Small Bites, Fast
Flavor Pairing Suggestions by Method
Pan Cooking
- Great with: Pan sauces, fresh herbs, butter, wine reductions
- Try: Lemon-butter pan sauce (deglaze with wine/broth, add lemon and butter)
- Great with: Yogurt or tahini sauces, salsa, pesto, chimichurri
- Try: Drizzling pesto or herby yogurt over roasted trays right before serving
- Great with: Dips and glazes—BBQ sauce, honey mustard, spicy mayo
- Try: Tossing air-fried items in buffalo sauce or garlic-parmesan butter
Oven Roasting
Air Frying
A Quick Method Decision Guide
When you’re staring at your ingredients, ask:
How much time do I want to actively cook?
- Low effort: oven or air fryer - I don’t mind tending the pan: stovetop
What texture am I craving?
- Deep browning on meat: pan - Ultra-caramelized veg: oven - Snacky crisp bites: air fryer
How many portions am I cooking?
- 1–2 people: any method - 3–6 people: oven often wins for capacity
Try This: Your Own Side-by-Side Test
Pick one food—say, broccoli—and cook it three ways:
- Pan: Sauté in olive oil with garlic until bright green and lightly browned; finish with lemon.
- Oven: Toss with oil, salt, pepper; roast at 425°F (220°C) until deeply browned.
- Air fryer: Toss with oil, salt, pepper; air fry at 400°F (200°C) until crisp-tender with charred edges.
- Texture differences
- Sweetness levels
- How intense the “roasted” flavor feels
Taste them one after the other. Notice:
You’ll start to feel which method best matches the dish you imagine—and that’s when your kitchen really starts working for you.
Once you’re comfortable switching between pan, oven, and air fryer, you’re not just following recipes anymore. You’re choosing the best path to the flavor and texture you want, every time you cook.
Key Takeaway
The most important thing to remember from this article is that this information can change how you think about Kitchen Tips.